Azure Developer CLI (AZD) Tutorial
Author:
Daniel Fang
Published: July 31, 2023
10 minutes to read
The Azure Developer CLI (azd) is an open-source tool from Microsoft that decreases the time it takes you to get your application from a local development environment to running in Azure. Developers can use the Azure Developer CLI to deploy both Azure resources and application code either directly from their local environment or via a CI/CD pipeline.
In this tutorial we will create a simple C# Azure Function App and use azd to manage resource creation and code deployment.
You will use Visual Studio Code and will need the Azure Functions Core Tools extension installed.
Install the Azure Developer CLI
Install azd using the method appropriate to your OS
Windows
winget install microsoft.azd
Mac
brew tap azure/azd && brew install azd
Linux
curl -fsSL https://aka.ms/install-azd.sh | bash
Initialise Project
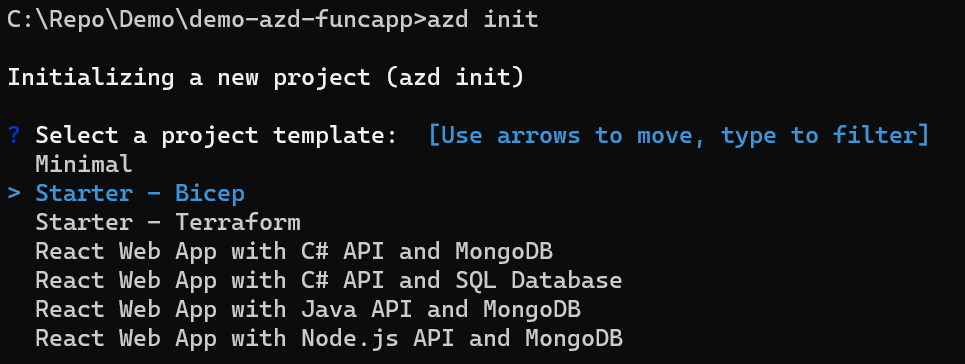
Create a local folder demo-azd-funcapp, then initialise the project structure by using the init command and selecting a template. Let’s use Bicep and go with the Starter - Bicep option.
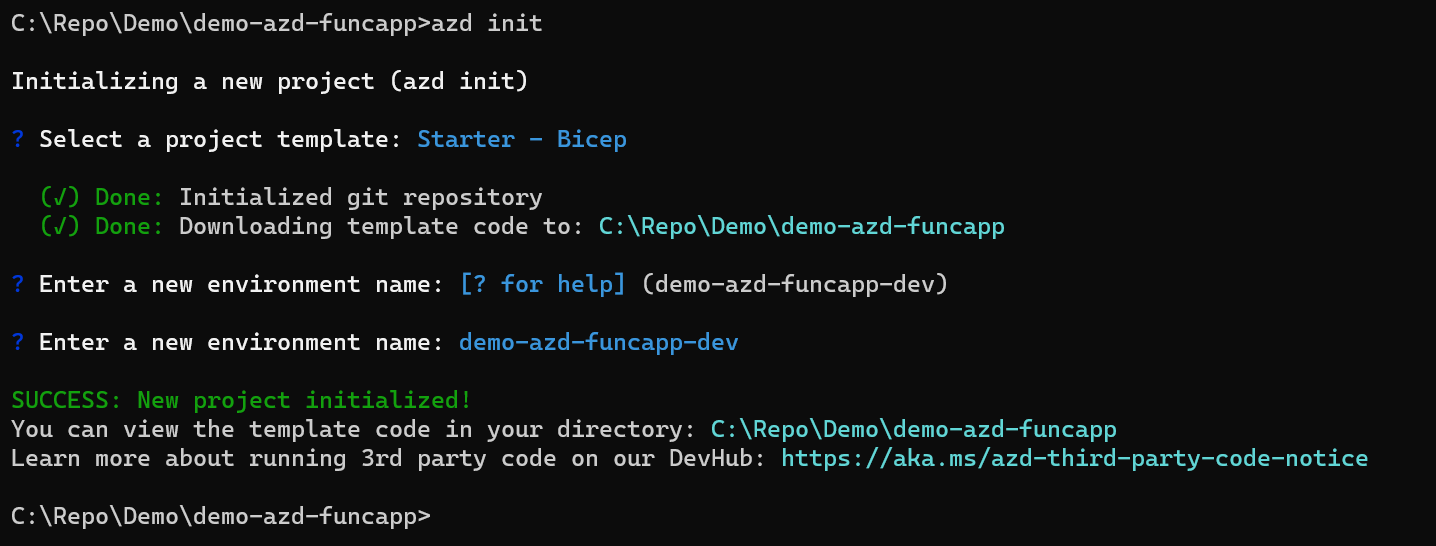
azd init
First select the project template.
Supply a default environment name. Let’s create a dev environment named demo-azd-funcapp-dev.
It’s also worth noting this name will be used for the Azure Resource Group we deploy to. We will create demo-azd-funcapp-uat as a UAT environment later.
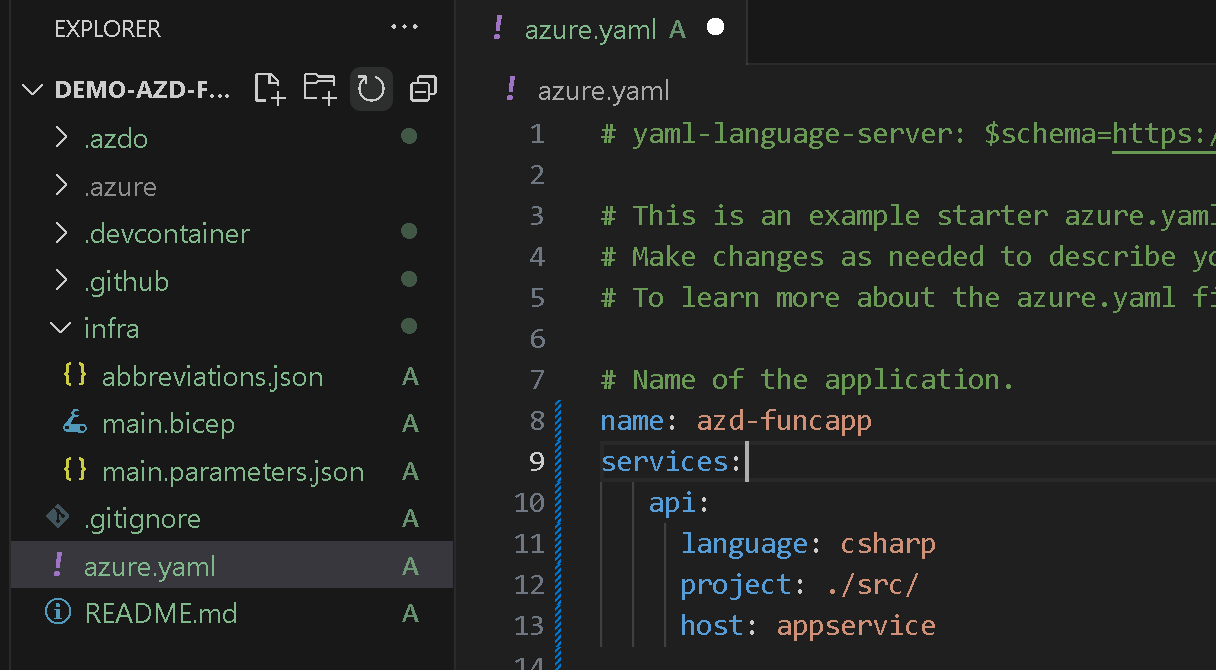
Open the demo-azd-funcapp folder in Visual Studio Code. The folder structure looks like below.
- azure.yaml - contains schema that describes the application
- infra - Bicep scripts to deploy resources
- src folder will be created in next step that contains c# code
- .azdo folder has AZD local environment values & configuration
Create a C# Function App
Let’s add a sample C# Function App as our deployable application.
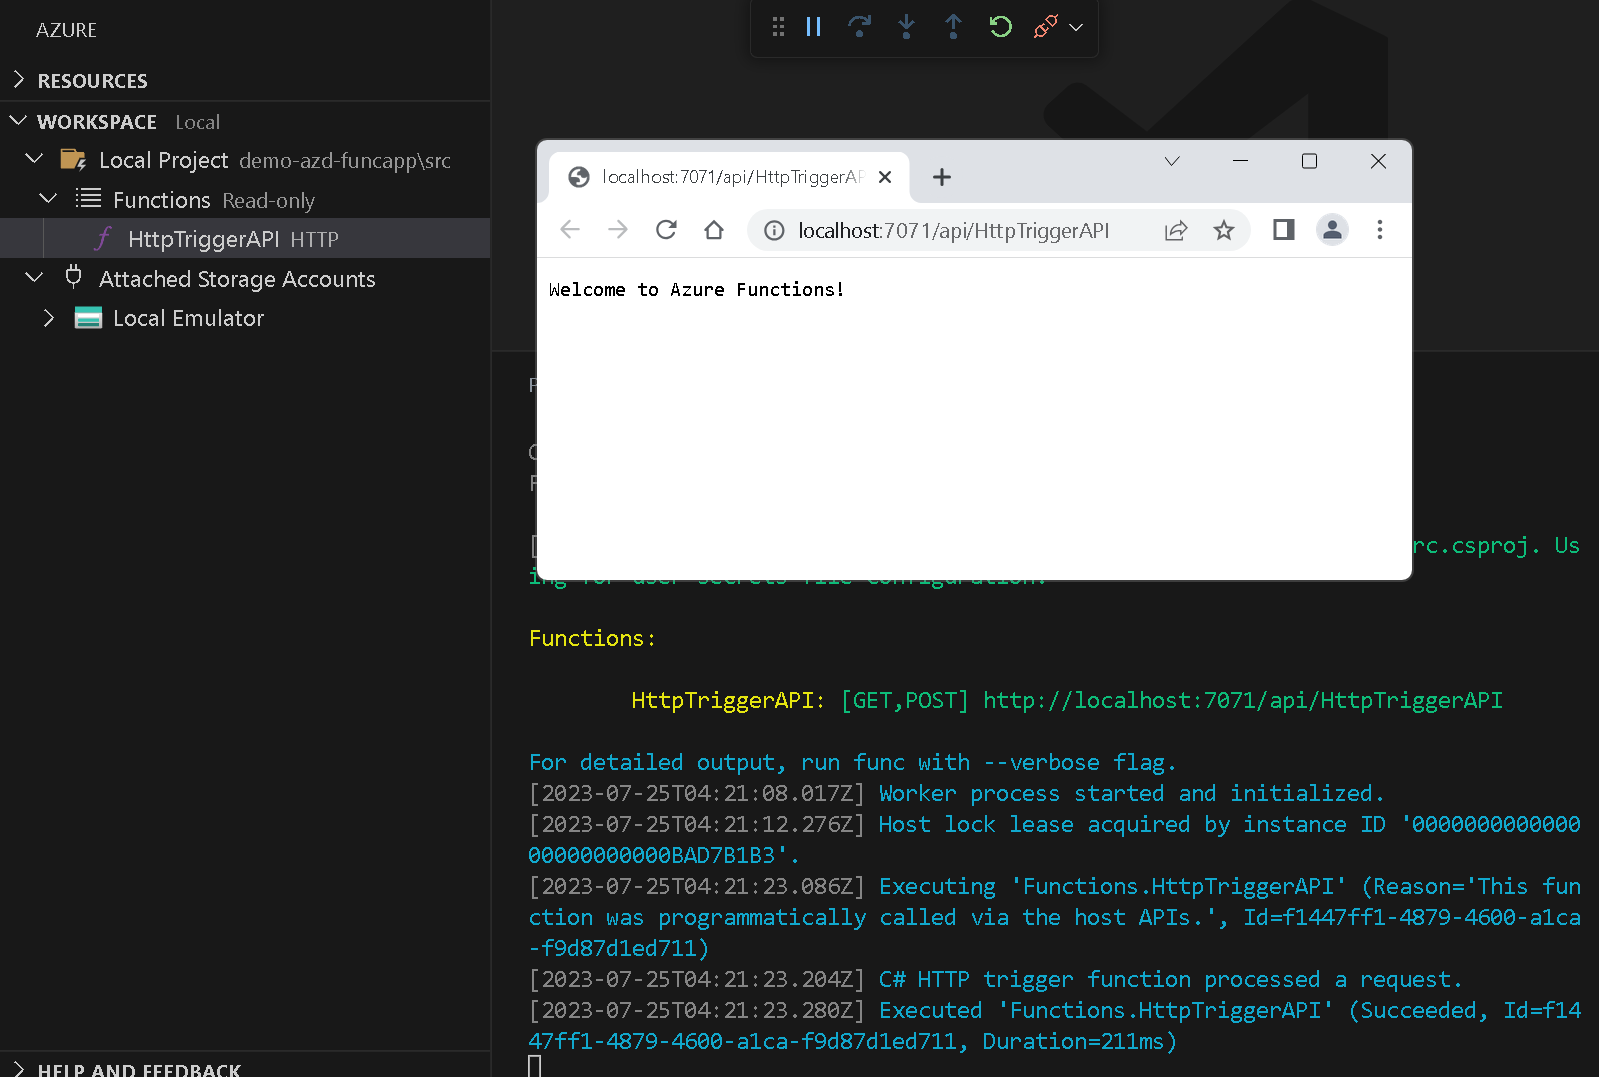
Create src folder under demo-azd-funcapp and then use VS Code to create a empty C# Function App with a HttpTrigger.
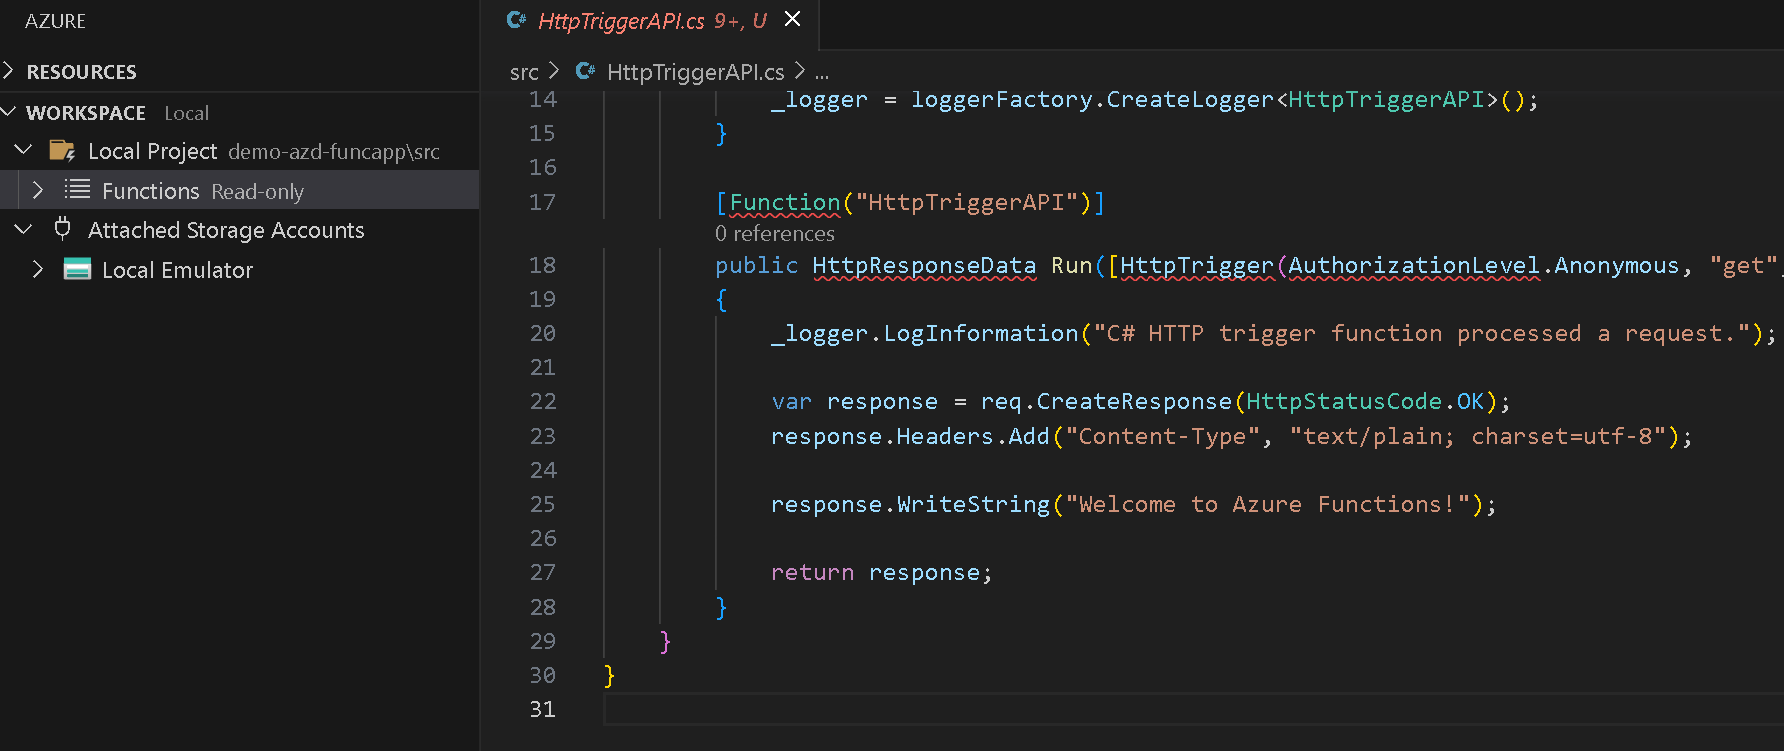
Run the Function App in VS Code and access the localhost URL to see that the HTTP Trigger is running correctly.
Provision Dev Environment in Azure
The Azure Developer CLI has two main steps when deploying an application:
- provision - create Azure resources and infrastructure
- deploy - deploy application code to Azure
Let’s have a look at the provision command first. Start by using the env list command to see existing environments on your local machine. There is only one demo-azd-funcapp-dev which we created earlier using the init command.
azd env list
The .azure/demo-azd-funcapp-dev folder contains cached enviornment details.

We have not written any Bicep yet, but the init command has generated some for us in the infra folder. At the moment it just creates an Azure Resource Group.
resource rg 'Microsoft.Resources/resourceGroups@2021-04-01' = {
  name: !empty(resourceGroupName) ? resourceGroupName : '${abbrs.resourcesResourceGroups}${environmentName}'
  location: location
  tags: tags
}
Let’s give this a try by running the provision command.
azd provision
Select the Azure Subscription.
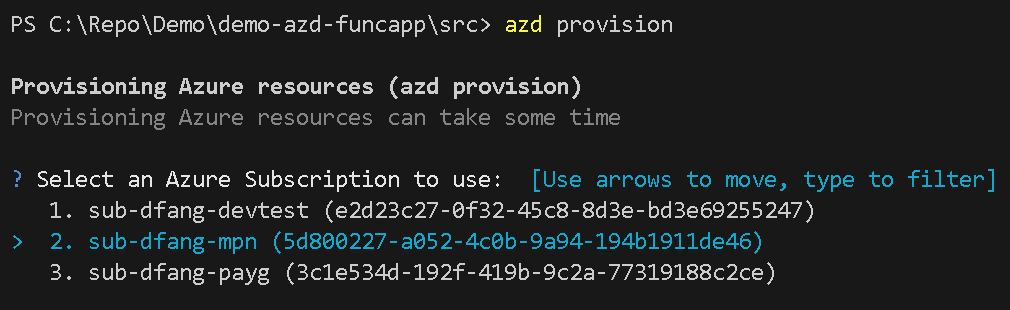
The selected Subscription is stored locally in the .env file.

Select the Azure Region.
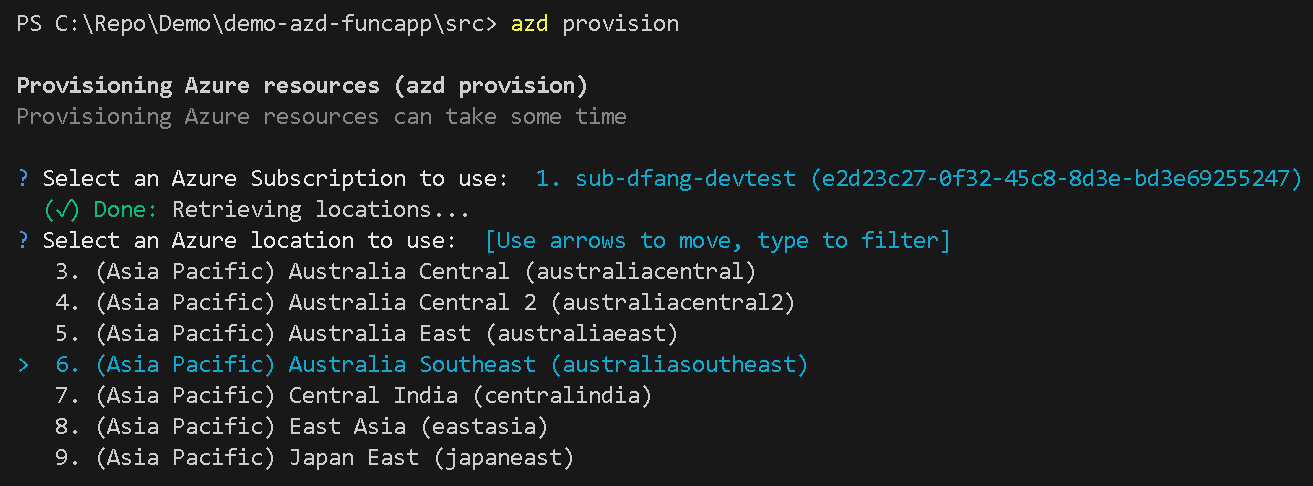
Now AZD is running the provision command to run the deployment.
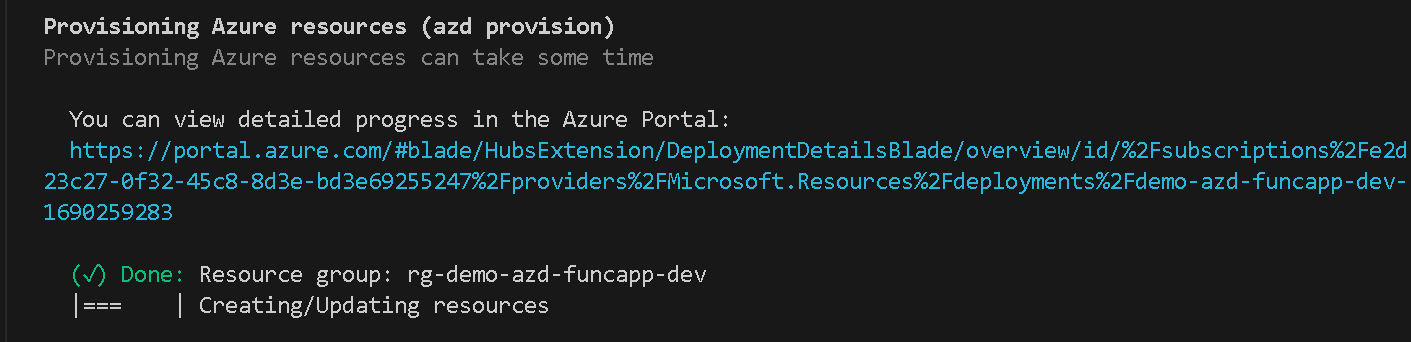
Once finished, we can see a new empty Resource Group is created in the target Azure Subscription.
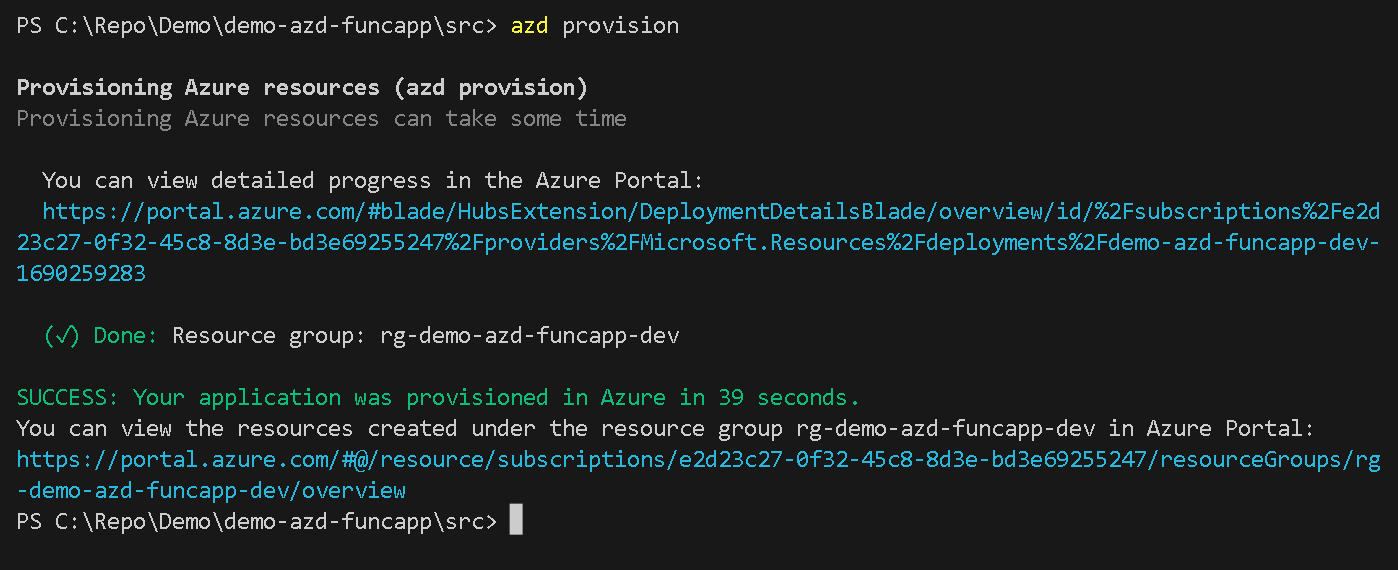
Head to Azure Portal and see the Resource Group for dev environment is available.

Provision Azure Resources for Dev Env
In order to run the Function App on Azure, we need to create an App Service Plan, Function App and a Storage Account. The Bicep code below will do the work.
Modify infra/main.bicep and add below.
module appServicePlan './app/appserviceplan.bicep' = {
  name: 'appserviceplan'
  scope: rg
  params: {
    name: '${abbrs.webServerFarms}${resourceToken}'
    location: location
    tags: tags
    sku: {
      name: 'Y1'
      tier: 'Dynamic'
    }
  }
}

module storage './app/storage-account.bicep' = {
  name: 'storage'
  scope: rg
  params: {
    name: '${abbrs.storageStorageAccounts}${resourceToken}'
    location: location
    tags: tags
  }
}

module api './app/functionapp.bicep' = {
  name: 'api'
  scope: rg
  params: {
    name: '${abbrs.webSitesAppService}api-${resourceToken}'
    location: location
    tags: union(tags, { 'azd-service-name': 'api' })
    appServicePlanId: appServicePlan.outputs.id
    storageAccountName: storage.outputs.name
    runtimeName: 'dotnet-isolated'
    runtimeVersion: '7.0'
    appSettings: {
    }
  }
}
The tags value of the Function App is very important. THe Azure Developer CLI uses the tag to identify where the actual application code should be deployed. The value here must match with service name in the azure.yaml file.
module api './app/functionapp.bicep' = {
  name: 'api'
  params: {
    name: '${abbrs.webSitesAppService}api-${resourceToken}'
    tags: union(tags, { 'azd-service-name': 'api' })
    }
  }
Time to re-run the provision command to create the new resources we’ve defined in Azure. The current default env is still demo-azd-funcapp-dev.
azd provision
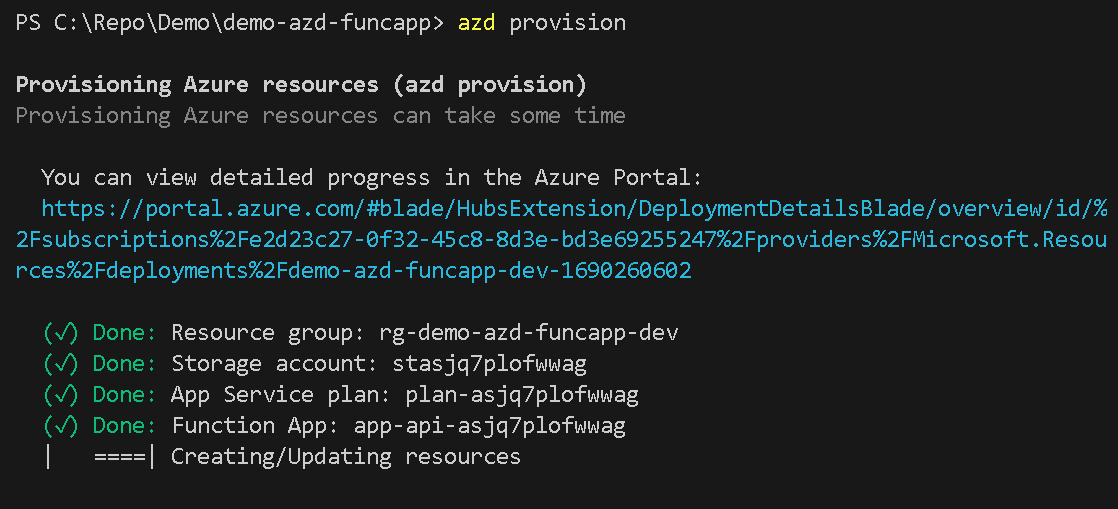
Once completed an empty Function App on an App Service Plan with a Storage account has been created. You can also check the deployment progress in Resource Group’s Deployment blade in the Azure Portal. Given deployments can take some time you might get an error saying previous deployment still in progress if you try to re-deploy too soon after your last deployment.

The three resources have been created.

We can see the empty Function App is running too.
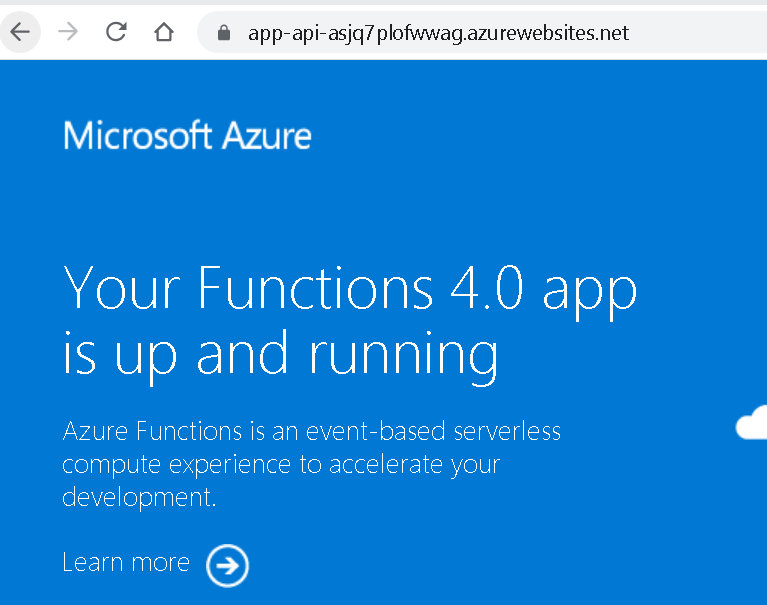
Hooray!
Deploy Application Code to Dev Env
Now the infrastructure is in place we can deploy our application code.
Open azure.yaml and add a service description for the Function App. The services > api indicates the service name which is automatically matched with empoty Function App tag so that AZD knows where to deploy the application code.
name: azd-funcapp
services:
  api:
    language: csharp
    project: ./src/
    host: appservice
Use the deploy command to start the code deployment.
azd deploy
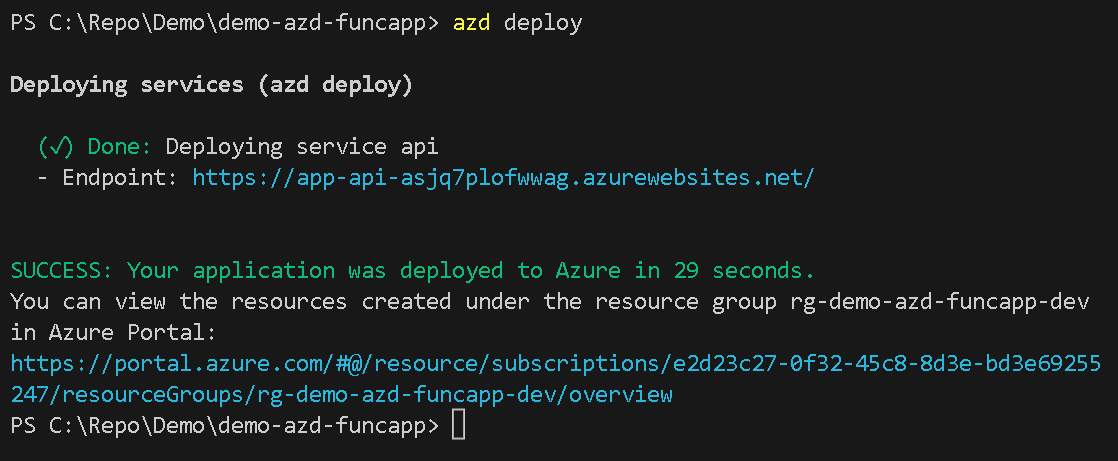
Now we can see our Function App API is running in Azure.

Create a new UAT Environment
So far we have used the Azure Developer CLI to provision resources and deploy code to a single development environment. It is really easy to use the same approach to create additional environments such as one for UAT.
Run the below command to create a UAT environment named demo-azd-funcapp-uat.
azd env new demo-azd-funcapp-uat

To provision this new environment we use -e with the provision command to specify the environment name since we have both Dev and UAT now.
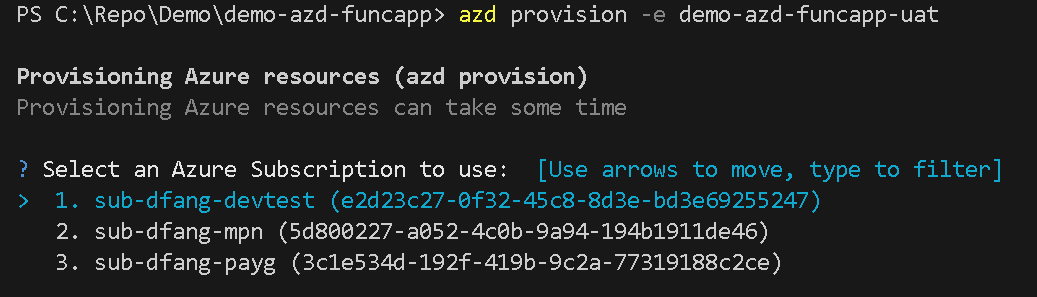
azd provision -e demo-azd-funcapp-uat
Select the Azure Subscription.
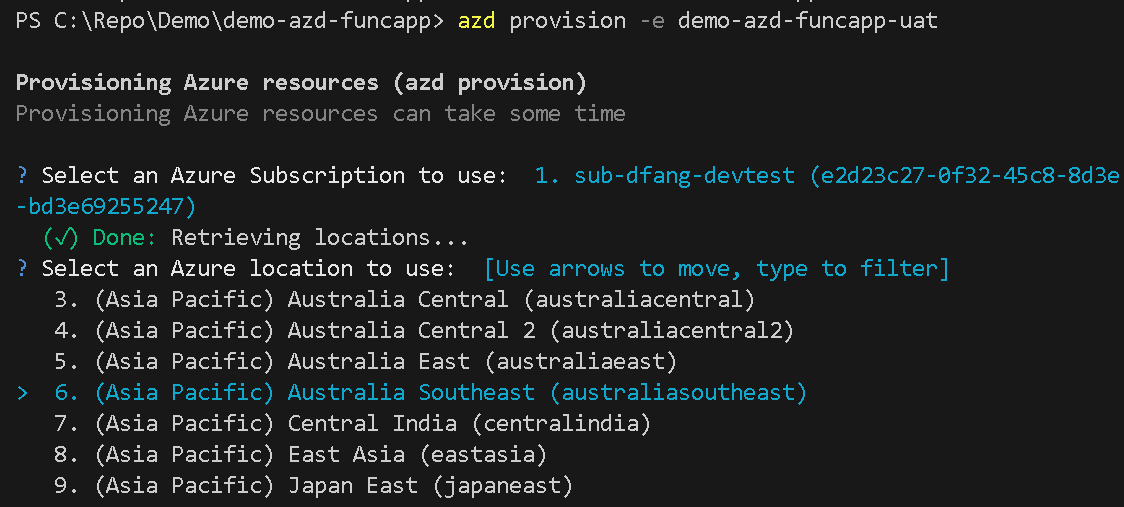
Select Azure Region.
A new folder demo-azd-funcapp-uat is created in the .azure folder to track above selections.

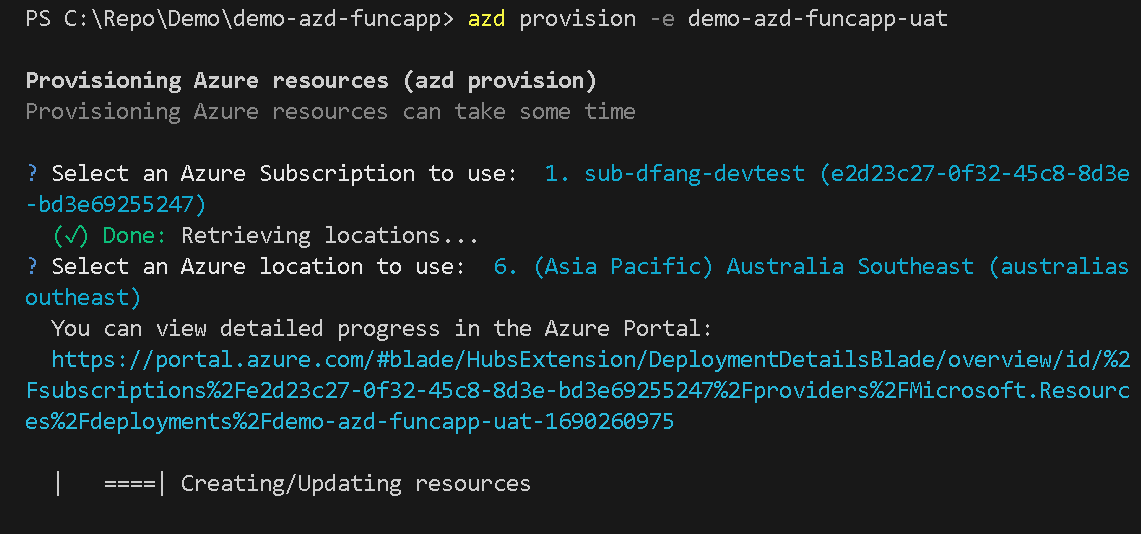
Azure resources for UAT are being created as AZD will use the same Bicep and application code we had for the Dev environment.
The newly created resources are printed out on screen as the deployment progresses.
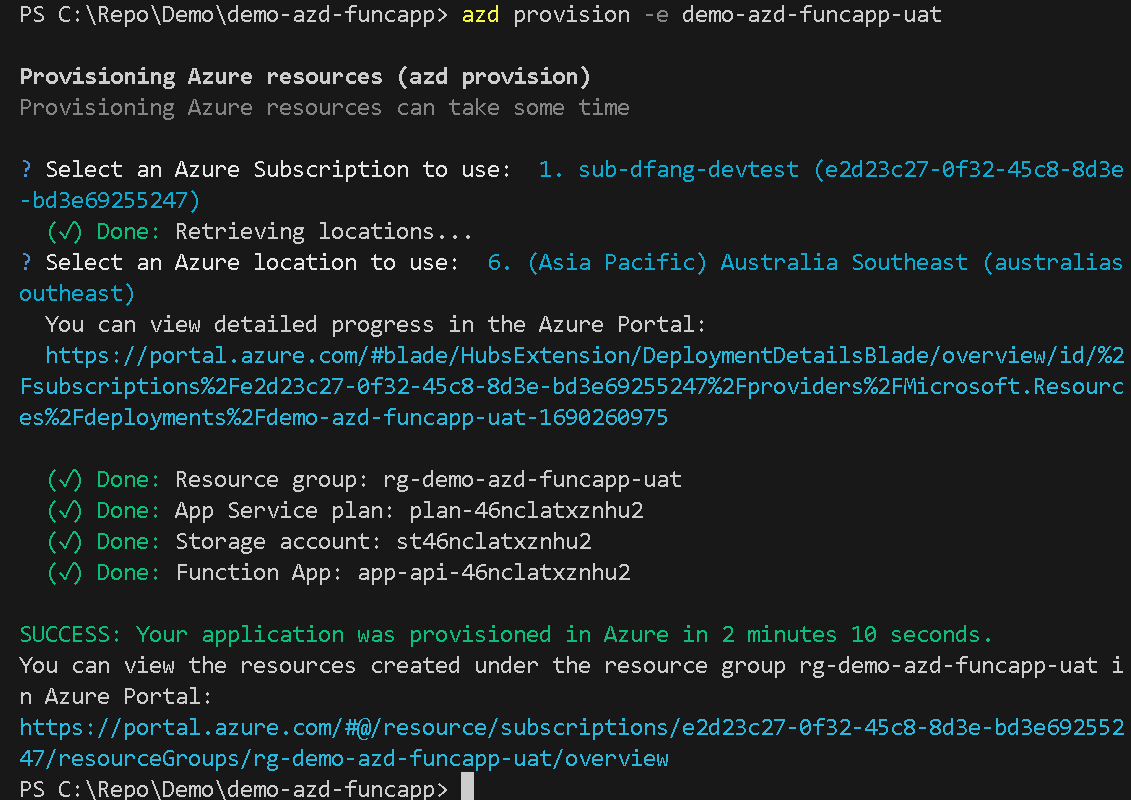
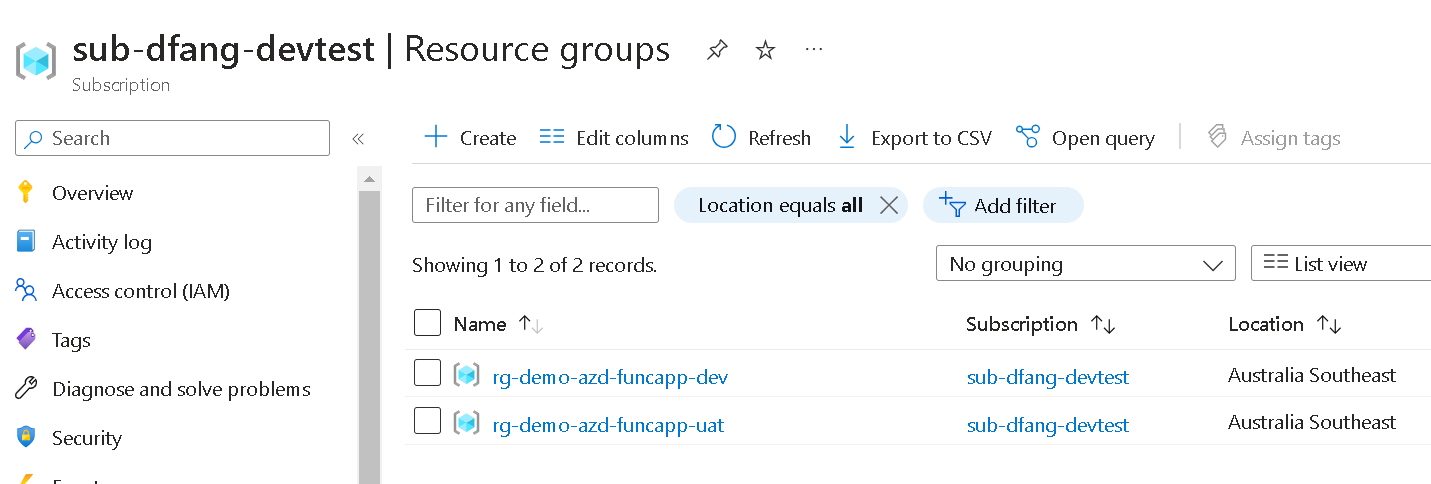
Too easy! We can see the UAT Resource Group is created and the various Azure resources are in place.
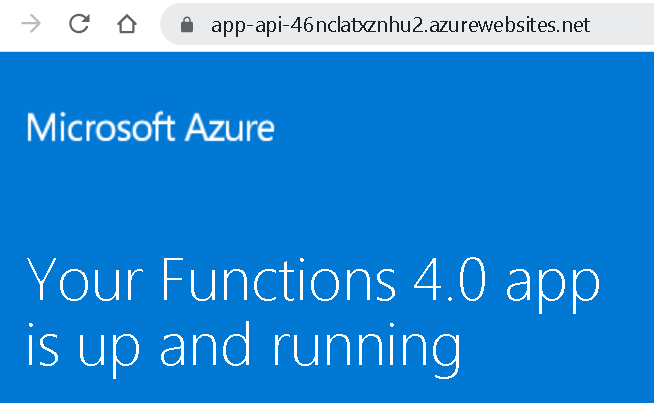
The new empty UAT Function App is running.
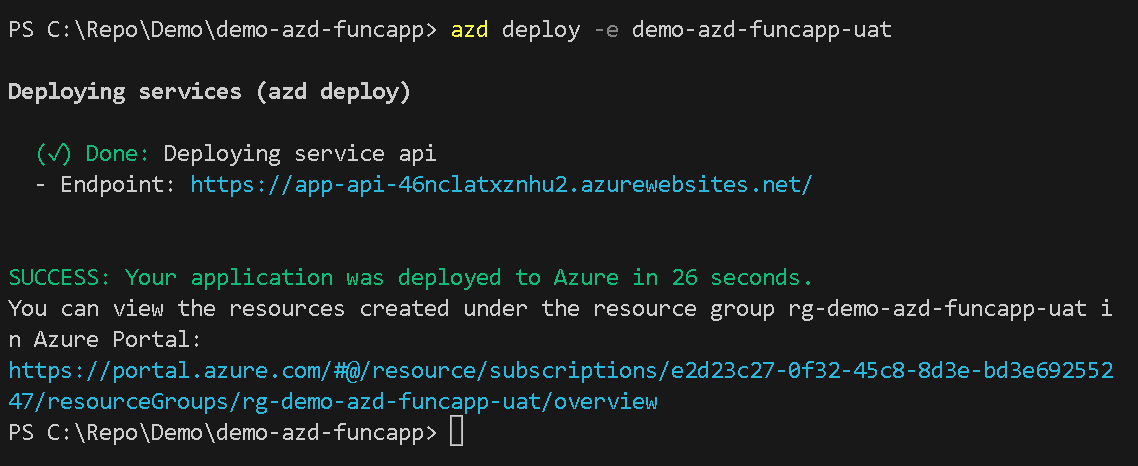
Lastly, we can deploy our application code to UAT.
azd deploy -e demo-azd-funcapp-uat
Deploying resources and code together
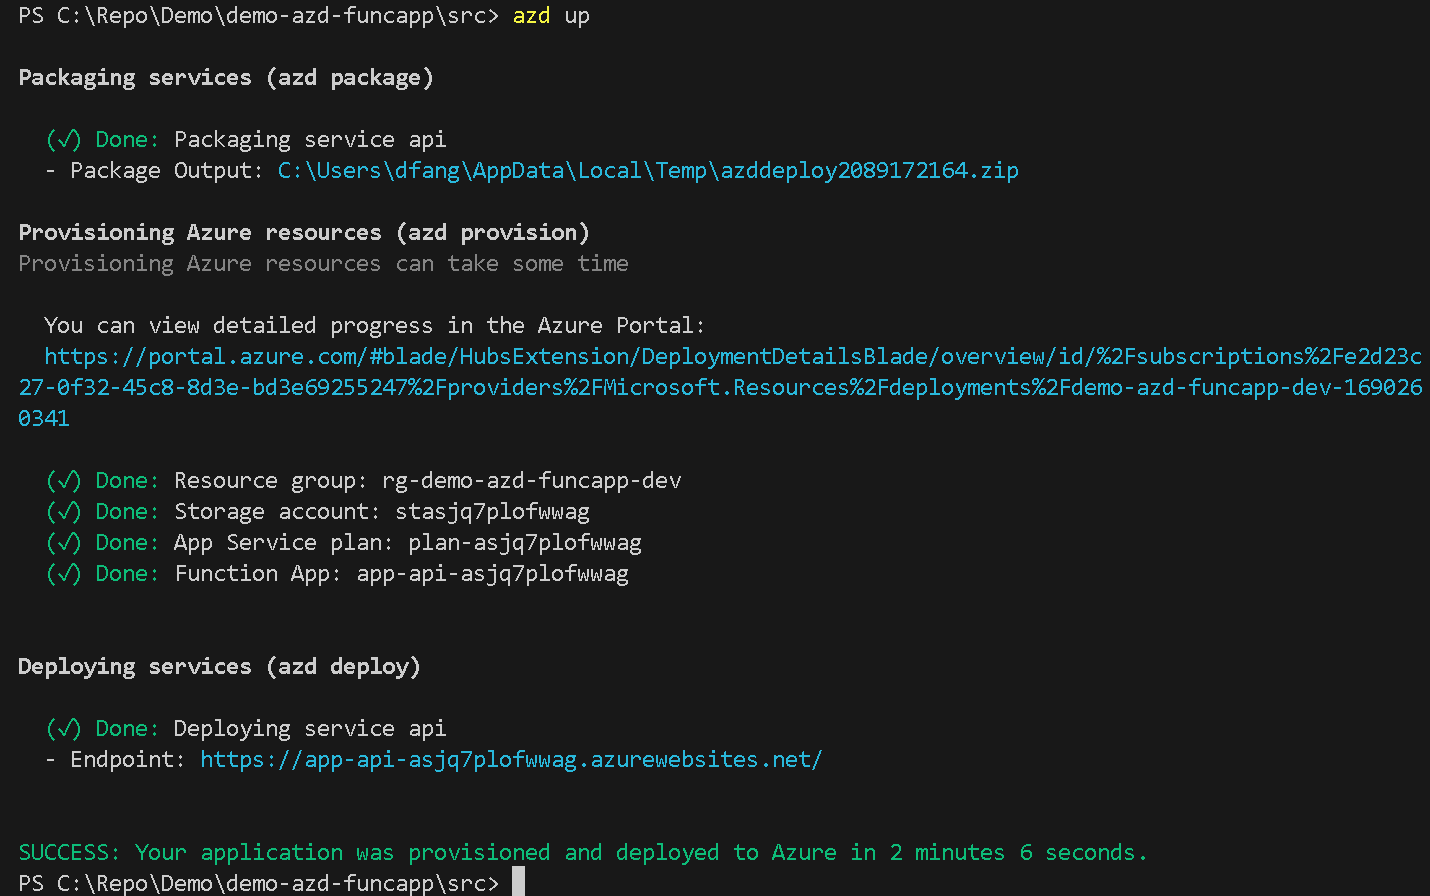
Instead of deploying infra and code separately, you can use the up command to run both together.
azd up
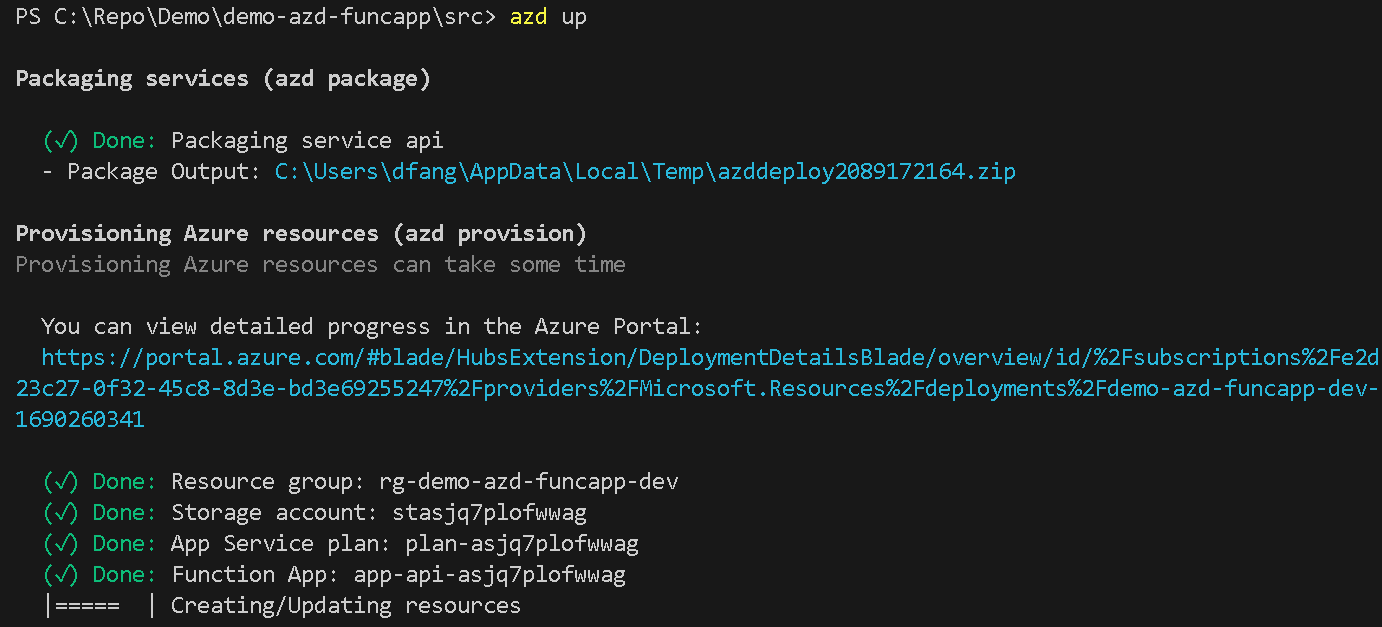
Once the command finishes our Function App is serving the application code that was deployed.
Delete Environment
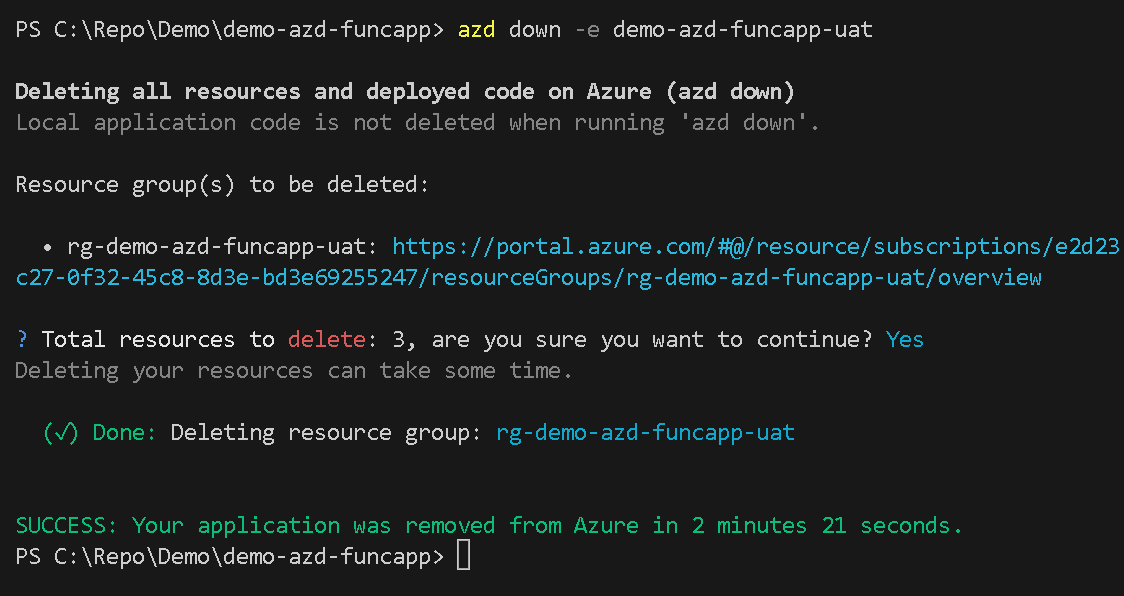
To destroy all resources in the environment, simply use down command.
azd down -e demo-azd-funcapp-uat
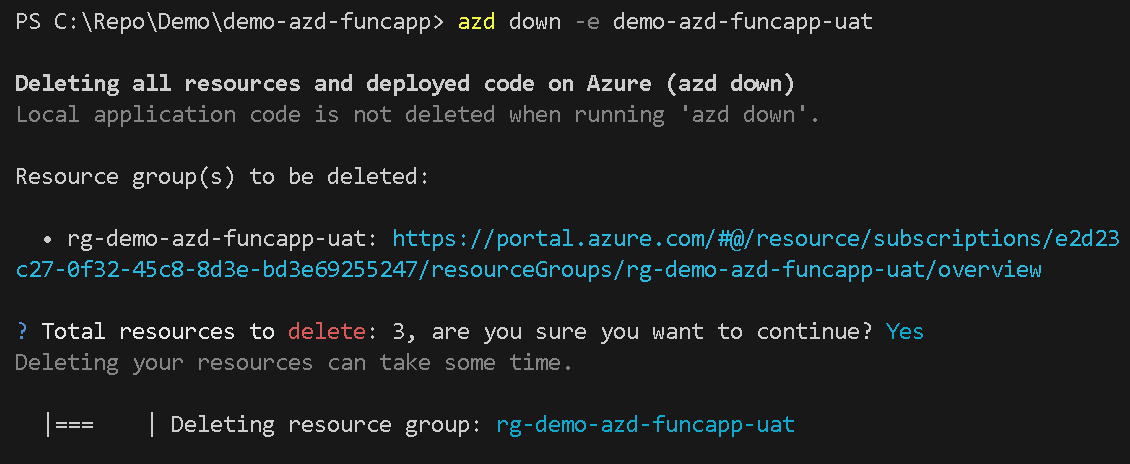
Once done, all the Azure resources in the specified environment will be removed.
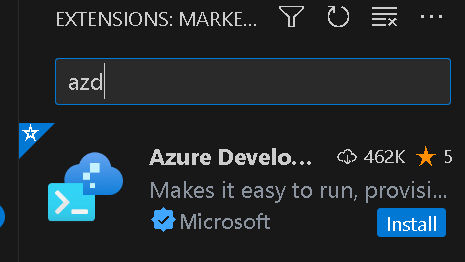
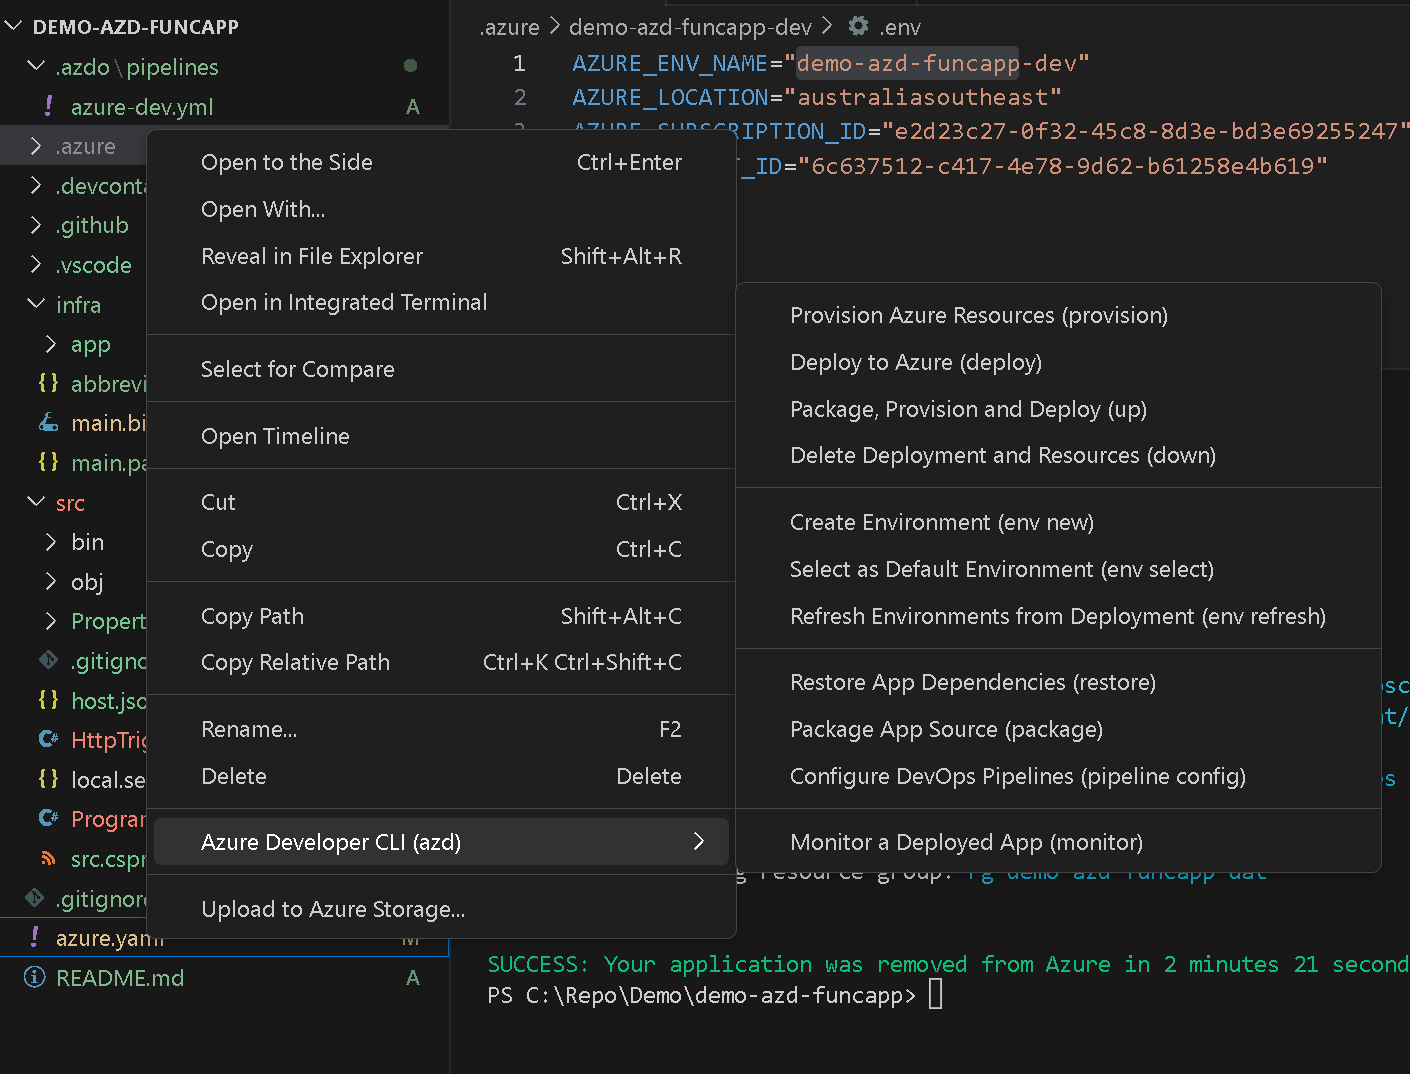
Azure Developer CLI VS Code Extension
If you install the Visual Studio Code extension you can execute commands from within the UI.
Right click azure.yaml to access menu options.
Hopefully this tutorial gives you a quick overview of Azure Developer CLI - AZD. Now it’s time to try yourself!