Install IPAM Netbox on RHEL 8
Author:
Jay Zhang
Published: June 27, 2024
15 minutes to read
What is NetBox
NetBox is the leading solution for modeling and documenting modern networks. By combining the traditional disciplines of IP address management (IPAM) and datacenter infrastructure management (DCIM) with powerful APIs and extensions, NetBox provides the ideal “source of truth” to power network automation. It is an open-source web application designed to help organizations manage their network infrastructure.
Why NetBox?
Comprehensive Data Model
Racks, devices, cables, IP addresses, VLANs, circuits, power, VPNs, and lots more: NetBox is built for networks. Its comprehensive and thoroughly inter-linked data model provides for natural and highly structured modeling of myriad network primitives that just isn’t possible using general-purpose tools. And there’s no need to waste time contemplating how to build out a database: Everything is ready to go upon installation.
Focused Development
NetBox strives to meet a singular goal: Provide the best available solution for making network infrastructure programmatically accessible. Unlike “all-in-one” tools which awkwardly bolt on half-baked features in an attempt to check every box, NetBox is committed to its core function. NetBox provides the best possible solution for modeling network infrastructure, and provides rich APIs for integrating with tools that excel in other areas of network automation.
Extensible and Customizable
No two networks are exactly the same. Users are empowered to extend NetBox’s native data model with custom fields and tags to best suit their unique needs. You can even write your own plugins to introduce entirely new objects and functionality!
Flexible Permissions
NetBox includes a fully customizable permission system, which affords administrators incredible granularity when assigning roles to users and groups. Want to restrict certain users to working only with cabling and not be able to change IP addresses? Or maybe each team should have access only to a particular tenant? NetBox enables you to craft roles as you see fit.
Custom Validation & Protection Rules
The data you put into NetBox is crucial to network operations. In addition to its robust native validation rules, NetBox provides mechanisms for administrators to define their own custom validation rules for objects. Custom validation can be used both to ensure new or modified objects adhere to a set of rules, and to prevent the deletion of objects which don’t meet certain criteria. (For example, you might want to prevent the deletion of a device with an “active” status.)
Device Configuration Rendering
NetBox can render user-created Jinja2 templates to generate device configurations from its own data. Configuration templates can be uploaded individually or pulled automatically from an external source, such as a git repository. Rendered configurations can be retrieved via the REST API for application directly to network devices via a provisioning tool such as Ansible or Salt.
Custom Scripts
Complex workflows, such as provisioning a new branch office, can be tedious to carry out via the user interface. NetBox allows you to write and upload custom scripts that can be run directly from the UI. Scripts prompt users for input and then automate the necessary tasks to greatly simplify otherwise burdensome processes.
Automated Events
Users can define event rules to automatically trigger a custom script or outbound webhook in response to a NetBox event. For example, you might want to automatically update a network monitoring service whenever a new device is added to NetBox, or update a DHCP server when an IP range is allocated.
Comprehensive Change Logging
NetBox automatically logs the creation, modification, and deletion of all managed objects, providing a thorough change history. Changes can be attributed to the executing user, and related changes are grouped automatically by request ID.
Installation Versions
- Postgresql 13 (supported version 12+)
- Python 3.10.14 (suported version 3.10, 3.11, 3.12)
- NetBox 4.0.3 (supported version 4+)
- RHEL 8 (Supported Ubuntu 22.04+ and CentOS 8.3+)
[!IMPORTANT]
You can install different versions so long they are supported!
Installation Guide
Update existing software packages
sudo dnf update -y
Set SELinux in disabled mode and adjust SELinux boolean to allow communicate to NetBox
sudo sed -i 's/^SELINUX=.*/SELINUX=disabled/g' /etc/selinux/config
cat /etc/selinux/config | grep SELINUX=
setsebool -P httpd_can_network_connect 1
Reboot server
sudo reboot
Check firewall status
Check firewall status
sudo systemctl status firewalld
If firewall service is masked, unmask and start it
sudo systemctl unmask --now firewalld
sudo systemctl enable firewalld
sudo systemctl start firewalld
Check status again to make sure it’s up and running healthy
Allow port 8000 and http/https on firewall
sudo firewall-cmd --permanent --add-port=8000/tcp
sudo firewall-cmd --permanent --add-service=http
sudo firewall-cmd --permanent --add-service=https
sudo firewall-cmd --reload
Install and config Postgresql 13
List all porstgresql versions and reset to default
sudo dnf module list postgresql
sudo dnf module reset -y postgresql
Set version 13 to enabled and install it as this is the one we want to install
sudo dnf module enable postgresql:13
sudo dnf install postgresql-server -y
 Initialize Postgresql database
sudo postgresql-setup --initdb
CentOS configures ident host-based authentication for PostgreSQL by default. Because NetBox will need to authenticate using a username and password, modify /var/lib/pgsql/data/pg_hba.conf to support MD5 authentication by changing ident to md5
host    all             all             127.0.0.1/32            md5
host    all             all             ::1/128                 md5
Once PostgreSQL has been installed, start the service and enable it to run at boot
sudo systemctl start postgresql
sudo systemctl enable postgresql
sudo systemctl status postgresql

Before continuing, verify that you have installed PostgreSQL 13
psql -V
Create a database for NetBox and assign it a username and password for authentication
CREATE DATABASE netbox;
CREATE USER netbox WITH PASSWORD 'replaceWithYourPassword';
ALTER DATABASE netbox OWNER TO netbox;
-- the next two commands are needed on PostgreSQL 15 and later
\connect netbox;
GRANT CREATE ON SCHEMA public TO netbox;
Once complete, enter \q to exit the PostgreSQL shell Test the database connectivity by executing following command
sudo -u postgres psql --username netbox --password --host localhost netbox

Install Redis
Redis is an in-memory key-value store which NetBox employs for caching and queuing
sudo dnf install -y redis
sudo systemctl start redis && sudo systemctl enable redis
redis-cli ping
You should receive pong response
Install Python3.10.14
Firstly, install the prerequisite software packages
sudo dnf install -y gcc make openssl-devel bzip2-devel libffi-devel wget git libxml2-devel libxslt-devel libpq-devel redhat-rpm-config
Then download the specific Python version and instal
wget https://www.python.org/ftp/python/3.10.14/Python-3.10.14.tgz
tar xzf Python-3.10.14.tgz
cd Python-3.10.14
sudo ./configure --enable-optimizations
sudo make altinstall
Set the installed version to be default one
sudo ln -fs /usr/local/bin/python3.10 /usr/bin/python3
sudo ln -fs /usr/local/bin/pip3.10 /usr/bin/pip3
If there already exists a link, remove the existing file: sudo rm -rf /usr/bin/python3 and pip3 as well, then run above two commands again
Check Python version is setup correctly with python3 -V
Install NetBox v4.0.3
Download the specific version and install
sudo mkdir -p /opt/netbox/
cd /opt/netbox/
git clone -b v4.0.3--depth 1 https://github.com/netbox-community/netbox.git .
Create a system user account named netbox. We’ll configure the WSGI and HTTP services to run under this account, and assign permissions to folders
sudo adduser --system --group netbox
sudo chown --recursive netbox /opt/netbox/netbox/media/
sudo chown --recursive netbox /opt/netbox/netbox/reports/
sudo chown --recursive netbox /opt/netbox/netbox/scripts/
Make a copy of configuration_example.py named configuration.py. This file will hold all of your local configuration parameters.
cd /opt/netbox/netbox/netbox/
sudo cp configuration_example.py configuration.py
Generate secret key for ‘SECRET_KEY’ in below script
python3 ../generate_secret_key.py
Once you got secret key, edit configuration.py file with sudo vi configuration.py Modify to match below content
ALLOWED_HOSTS = ['*']

DATABASE = {
    'NAME': 'netbox',         # Database name
    'USER': 'netbox',         # PostgreSQL username
    'PASSWORD': 'yourpassword',        # PostgreSQL password
    'HOST': 'localhost',      # Database server
    'PORT': '',               # Database port (leave blank for default)
    'CONN_MAX_AGE': 300,      # Max database connection age
}

REDIS = {
    'tasks': {
        'HOST': 'localhost',      # Redis server
        'PORT': 6379,             # Redis port
        'PASSWORD': '',           # Redis password (optional)
        'DATABASE': 0,            # Database ID
        'SSL': False,             # Use SSL (optional)
    },
    'caching': {
        'HOST': 'localhost',
        'PORT': 6379,
        'PASSWORD': '',
        'DATABASE': 1,            # Unique ID for second database
        'SSL': False,
    }
}

SECRET_KEY = 'yoursecretkey'
Run the packaged upgrade script (upgrade.sh) to perform the following actions:
- Create a Python virtual environment
- Installs all required Python packages
- Run database schema migrations
- Builds the documentation locally (for offline use)
- Aggregate static resource files on disk
sudo /opt/netbox/upgrade.sh
Create a super user netbox in the Python virtual environment created by the upgrade script
source /opt/netbox/venv/bin/activate
cd /opt/netbox/netbox
python3 manage.py createsuperuser
Schedule the housekeeping task to cleanup old sessions and expired change records
sudo ln -s /opt/netbox/contrib/netbox-housekeeping.sh /etc/cron.daily/netbox-housekeeping
Test Application
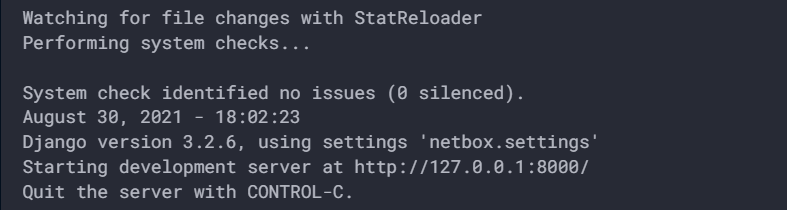
python3 manage.py runserver 0.0.0.0:8000 --insecure
If successful, you should see output similar to the following
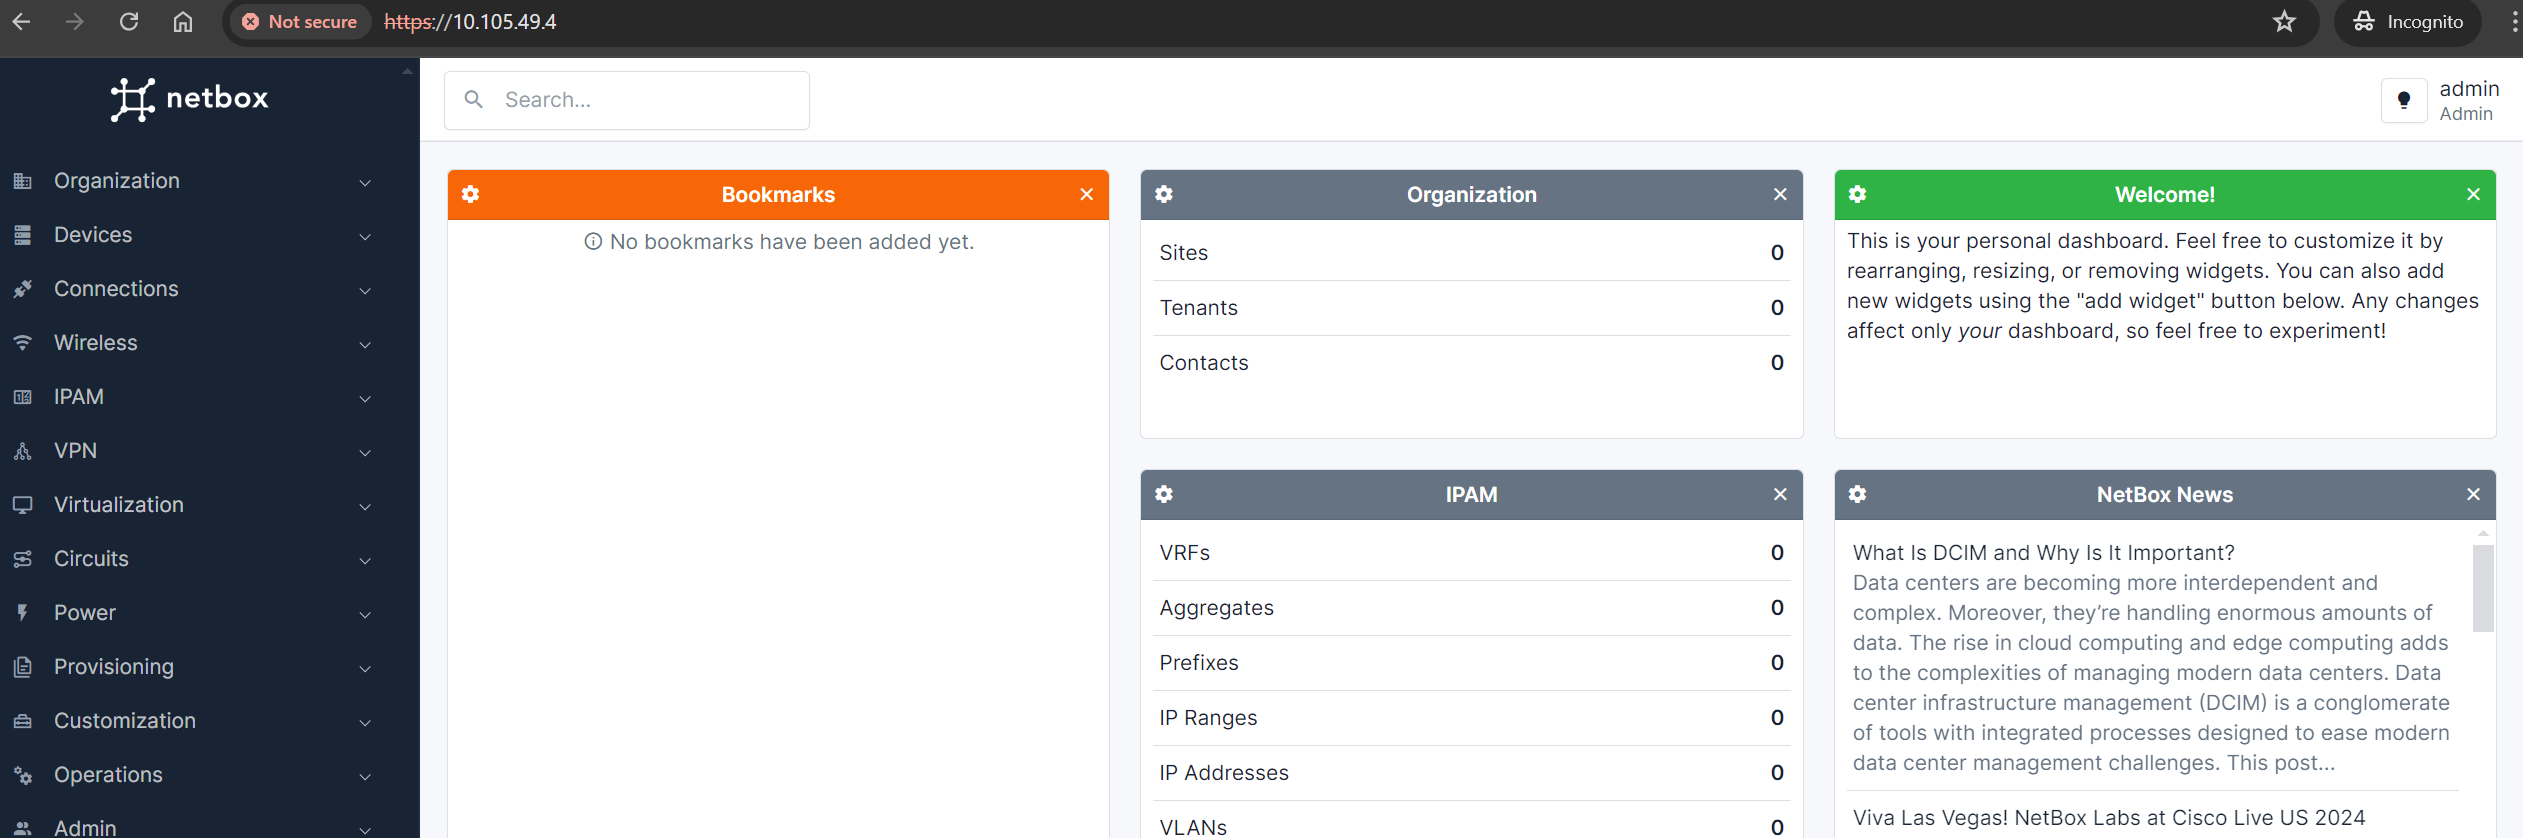
 Now you can access site on http://IPaddress:8000 or http://hostname:8000
If you are unable to open the netbox page, then there are problems in previous steps. Fix them before moving forward
Now you can access site on http://IPaddress:8000 or http://hostname:8000
If you are unable to open the netbox page, then there are problems in previous steps. Fix them before moving forward
Once test completed, you can deactivate the virutal env
deactivate
Create systemed service for netbox
NetBox runs as a WSGI application behind an HTTP server. Install gunicorn and enable netbox
sudo cp /opt/netbox/contrib/gunicorn.py /opt/netbox/gunicorn.py
sudo cp -v /opt/netbox/contrib/*.service /etc/systemd/system/
sudo systemctl daemon-reload
sudo systemctl start netbox netbox-rq
sudo systemctl enable netbox netbox-rq
Check netbox services status and sure them are running healthy
systemctl status netbox netbox-rq
HTTP server setup
Obtain an ssl certificate (self generate one for testing, for production, go for trusted commercial provider)
mkdir /etc/ssl/private
openssl req -x509 -nodes -days 365 -newkey rsa:2048 -keyout /etc/ssl/private/netbox.key -out /etc/ssl/certs/netbox.crt
Install nginx
sudo dnf install -y nginx
sudo vi /etc/nginx/nginx.conf
Delete default server block and add following lines there, update user nginx to root. Replace netbox.example.com to you server hostname or IP
user root;

server {
    listen [::]:443 ssl ipv6only=off;

    # CHANGE THIS TO YOUR SERVER'S NAME
    server_name netbox.example.com; # update to server IP or name

    ssl_certificate /etc/ssl/certs/netbox.crt;
    ssl_certificate_key /etc/ssl/private/netbox.key;

    client_max_body_size 25m;

    location /static/ {
        alias /opt/netbox/netbox/static/;
    }

    location / {
        proxy_pass http://127.0.0.1:8001;
        proxy_set_header X-Forwarded-Host $http_host;
        proxy_set_header X-Real-IP $remote_addr;
        proxy_set_header X-Forwarded-Proto $scheme;
    }
}
server {
    # Redirect HTTP traffic to HTTPS
    listen 80;
    listen [::]:80 ipv6only=on default_server;
    server_name _;
    return 301 https://$host$request_uri;
}
Enbale and start nginx service
sudo systemctl start nginx
sudo systemctl enable nginx
Finally, you can access netbox on https://ipaddress or https://hostname
[!TIP] Trouble shooting If you are unable to connect to http server
- Nginx is running and configured to listen on the correct port
Access is not being blocked by a firewall somewhere along the path If you are able to connect but receive a 502 (bad gateway) error
- Make sure netbox and netbox-rq are running healthy systemctl status netbox netbox-rq
- Nginx is configured to connect to the port on which gunicorn is listening (default is 8001)
- SELinux is not preventing the reverse proxy connection. You may need to allow HTTP network connections with the command setsebool -P httpd_can_network_connect 1
References
Installation: https://netboxlabs.com/docs/netbox/en/stable/installation/ NetBox Community: https://github.com/netbox-community NetBox Docker: https://github.com/netbox-community/netbox-docker